Organize into groups
A group is your own label for accounts: “London”, “Regions”, “Warm-up”. Groups make it easy to browse the list and pick accounts for a campaign.

Create a group
- Above the table, click Group with the plus sign.
- Enter a name and click Create.
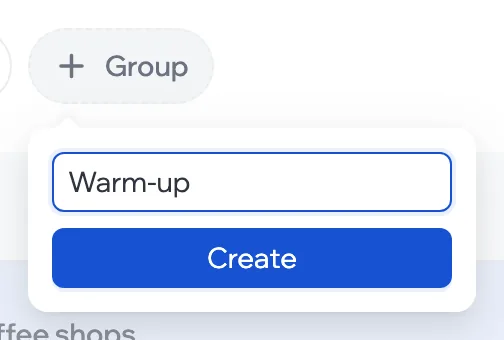
You can have up to 50 groups.
Move accounts
An account belongs to one group only: moving it to a new group removes it from the old one.
- One account
- Click the cell in the Group column and pick a group from the list.
- Several
- Tick the accounts, click Change group, choose a group and click Move.
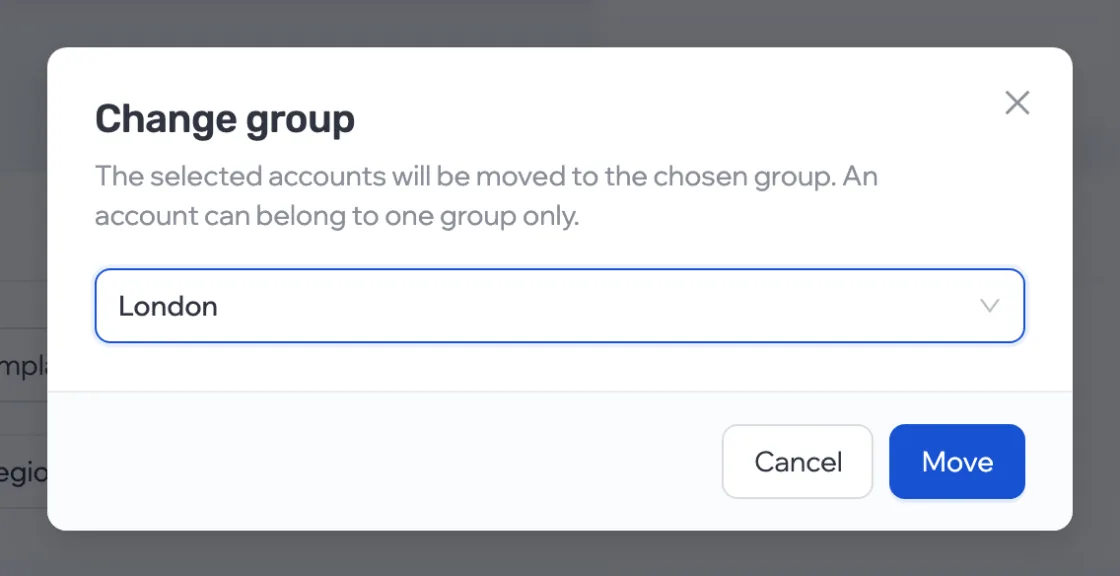
To take an account out of a group, choose No group.
View a group
Click a group above the table and only its accounts stay in the list. Click it again or click All accounts to see the whole list. No group shows the accounts that aren’t in any group.
Rename or delete
Click the three dots next to a group: in the popup, change the name and click Save, or delete the group.
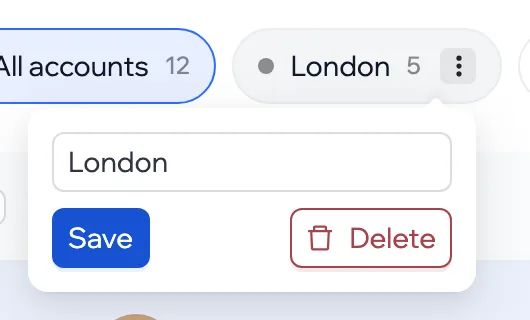
Accounts from a deleted group stay in the package — just without a group.
Groups in a campaign
When you add accounts to a campaign, you can filter the list by group — handy if each campaign has its own group.